Home
Projects
Galleries
Wood-Mode Collages
Wood-Mode Doors
Brookhaven Doors
Brookhaven
Why Choose Brookhaven
Brookhaven Style I
Brookhaven Style II
Wood-Mode
Why Choose Wood-Mode
Wood-Mode Quality
Wood-Mode Style 42
Wood-Mode Style 84
Remodeling 101
Kitchen Inspiration
Kitchen Ideas To Solve Your Problems
Kitchen Layouts
Kitchen Remodeling
Kitchen Remodeling Cost
Kitchen Remodeling Planning Guide
Why Kitchen Design Matters
Why Use a CKD?
Why Choose Better Kitchens?
Our Kitchen Remodeling Process
Bathroom Remodeling
Bathroom Remodeling Planning Guide
Cabinetry Care
Cabinetry Cleaning
Wood-Mode Cabinet Hinge Adjustment & Repair
About Us
Our History
Our Team
Contact Us
Blog
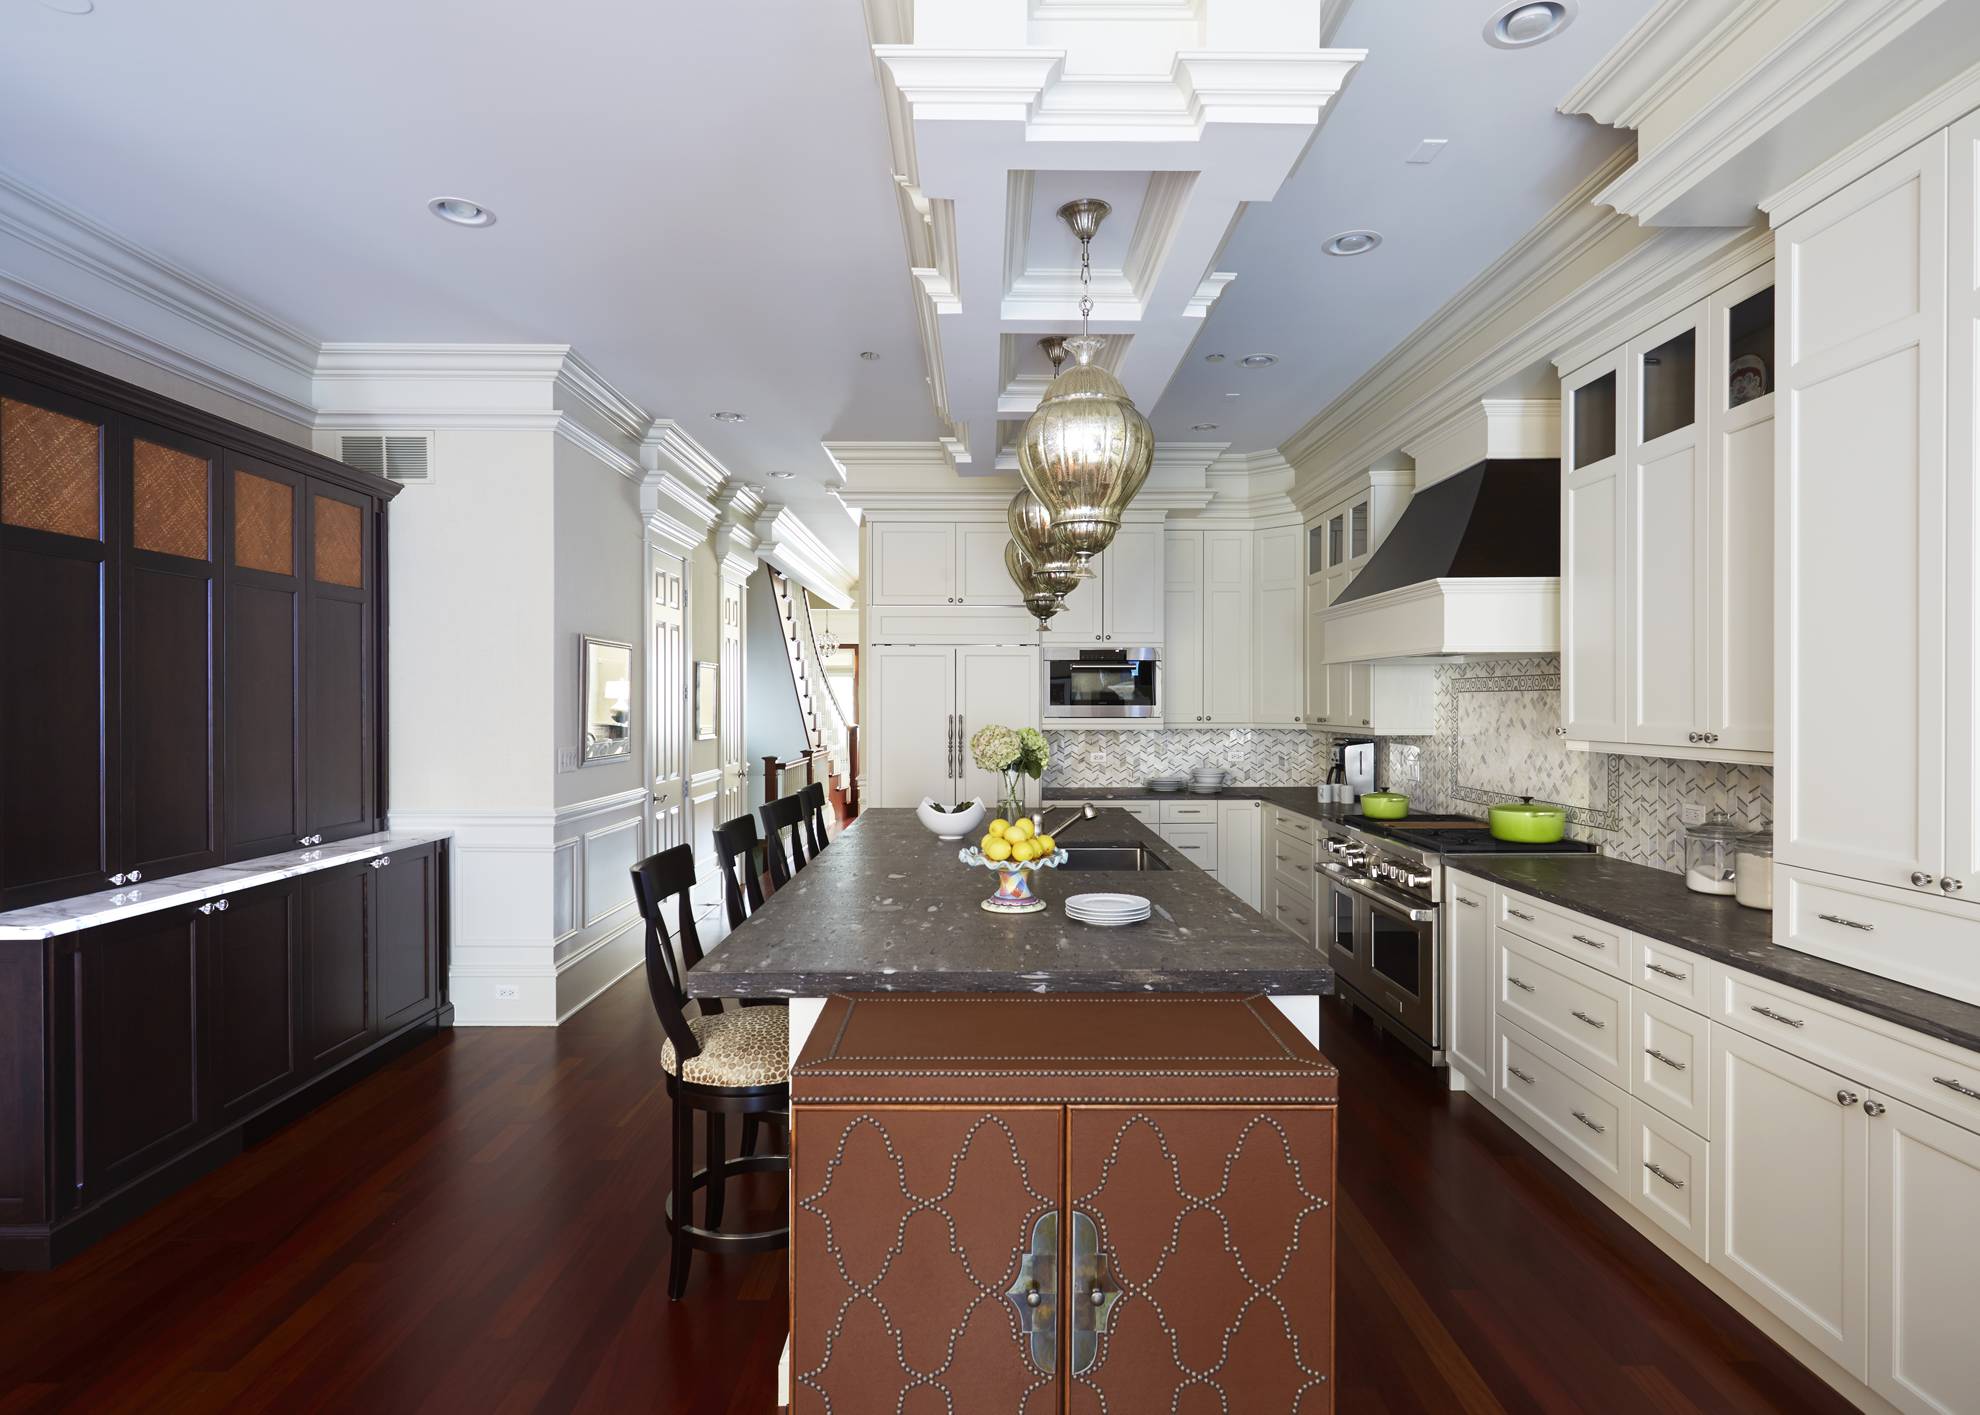
Grand Traditional Kitchen
Home
Better Kitchens
Grand Traditional Kitchen
Click to see before and after photos:
OVERVIEW
A.
CHALLENGE
W.
SOLUTION
D.